



You finally decide to renovate. The idea feels exciting for about a week. Then the questions start piling up: What comes first? How much extra money should you set aside? When do you call the inspector? A clear home renovation checklist turns that pile of questions into a sequence you can follow.
This guide walks through the stages in order: what to settle before any tools come out, what happens while the work is underway, and what you still need to do after the last truck leaves. The goal is a project that stays closer to budget and closer to the schedule you planned.
The short answer
A solid home renovation checklist has three phases. Before work starts, lock the scope, set a budget with a 10 to 20 percent contingency, check permits, and hire with written bids. During construction, follow the right sequence (demo and structure before rough-ins, rough-ins before drywall) and keep dust and access under control. After the work, walk every space with a punch list, collect warranties and manuals, and confirm final inspections. Most overruns and delays come from skipping the early decisions or closing walls before inspections pass.
What the numbers say
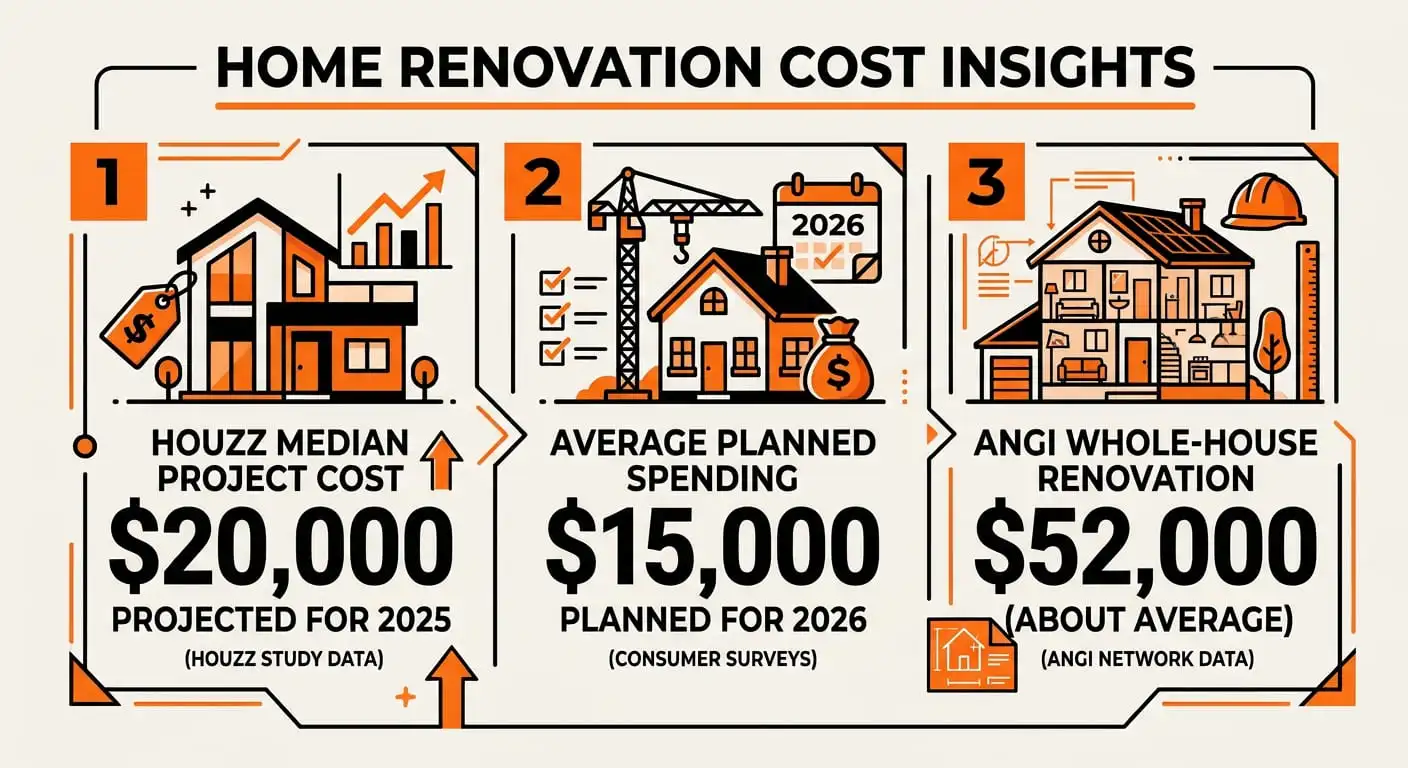
Before you write a single checklist item, it helps to know the current scale of the work. According to the 2026 U.S. Houzz & Home Study, more than half of surveyed homeowners (54 percent) renovated in 2025. The median renovation spend held at $20,000 that year. Looking ahead, the same study found the median planned spend dropping to $15,000 for 2026.
Whole-house projects land higher. Angi data from 2026 puts the national average cost to renovate a house at about $52,143, with a typical range of roughly $19,500 to $88,500 depending on size, scope, and finish level. These figures are national averages and change by metro area, so treat them as starting points rather than fixed quotes.
A consistent theme across industry guidance is the contingency. Most planning advice lands in the 10 to 20 percent range of the known project cost. Newer homes with limited demolition can sit near the lower end. Older homes or projects that open walls, move plumbing, or touch structure usually need the higher end. That buffer is for true surprises, not for upgrading finishes mid-project.
Before: planning and decisions
Most renovation problems start before demolition. The decisions you make (or skip) in this phase control cost, schedule, and stress for everything that follows. Work through the items below in order so each one supports the next.
1. Write a clear scope
“Redo the kitchen” is not a scope. List the rooms, the changes in each room, and what stays. Separate must-do items (leaking pipes, unsafe electrical, failed windows) from nice-to-have upgrades. A written scope becomes the basis for drawings, bids, and later change-order conversations.
2. Set the budget and the contingency
Build the budget from the scope, not the other way around. Include design fees, permits, materials, labor, temporary living costs if needed, and a contingency of 10 to 20 percent. For help with the numbers, see our guide to setting a realistic renovation budget. Keep the contingency separate so it is not spent on scope changes.
3. Check the house itself
Before you design around the current layout, understand the structure, moisture, electrical capacity, and plumbing. Older homes often hide issues that only appear once walls open. A pre-renovation inspection or a structural review can surface problems while they are still line items instead of emergencies.
4. Confirm permits early
Structural changes, new openings, electrical work, plumbing moves, and mechanical system replacements almost always need permits. Cosmetic work such as paint, flooring over existing subfloor, and cabinet replacement in the same location often does not. Requirements vary by city and county, so call your local building department before you assume anything. Our guide on paperwork and permits for structural changes walks through the common triggers and the documents most departments ask for.
5. Hire with written bids and clear contracts
Get at least three detailed bids based on the same scope. Compare line items, not just the bottom number. Check licenses, insurance, and references. When you review the paperwork, use a consistent method for comparing written contractor bids. A clear contract should spell out payment schedule, change-order process, cleanup expectations, and who handles permits and inspections.

6. Finalize selections before demolition
Cabinets, tile, flooring, fixtures, and appliances all have lead times. Order the long-lead items once the plans are set and the permit is in motion. Changing a finish after rough-in starts is one of the fastest ways to add cost and delay.
7. Plan how you will live during the work
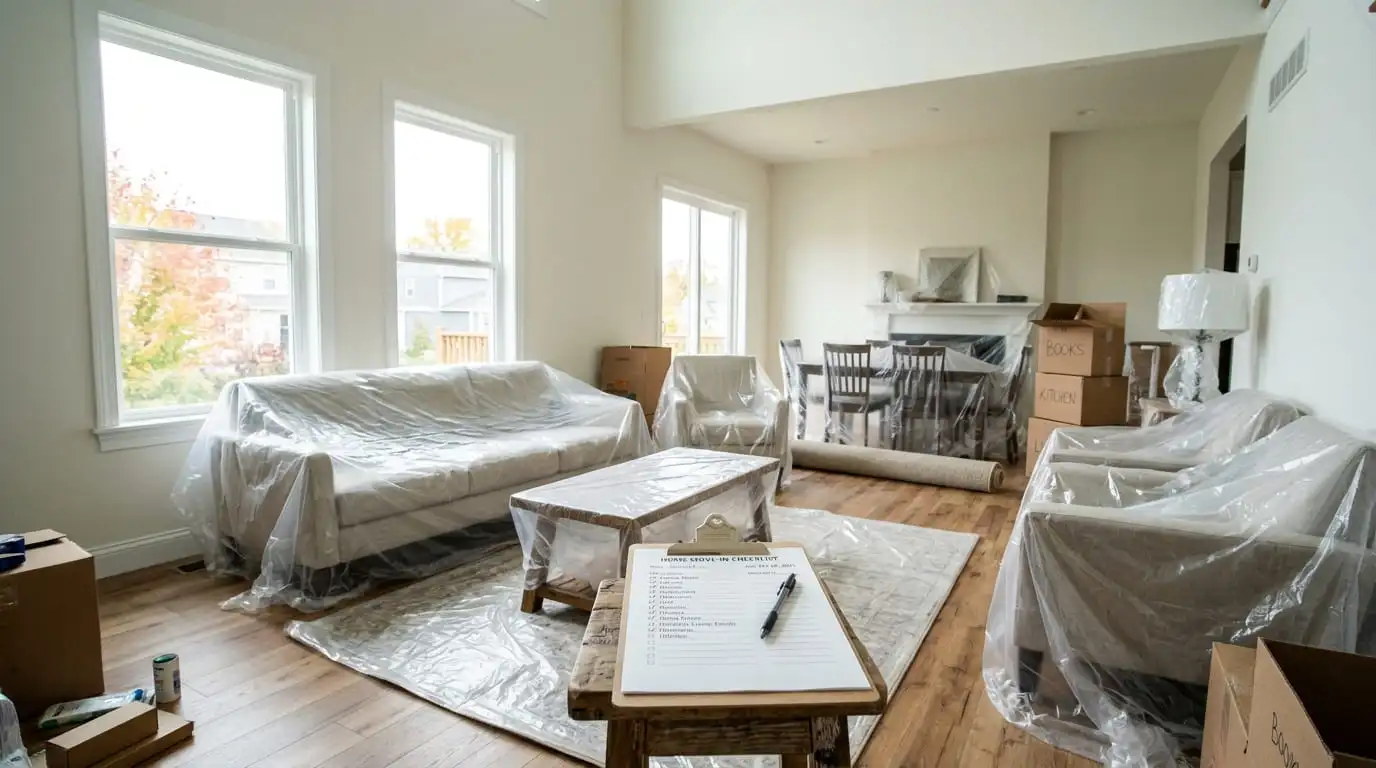
If you stay in the house, decide which rooms remain usable, how dust will be contained, and where temporary kitchen or bathroom functions will go. If you move out, factor the cost and the length of the disruption into the budget. Our guide to living in the house while work is underway covers practical ways to reduce the daily friction.
During: the work sequence
Once the permits are in hand and the site is protected, the physical work follows a fixed order. Skipping steps or closing walls too early creates rework. The sequence below matches common practice across remodeling guides and the inspection order most building departments expect.
| Stage | What happens | Why it comes here |
|---|---|---|
| Site protection and demolition | Cover floors, seal doorways, remove finishes and non-structural walls | Reveals hidden conditions before new work begins |
| Structure and framing | Repairs, new openings, beams, roof or exterior work if needed | Everything else depends on a stable frame |
| Rough mechanical, electrical, plumbing | Ducts, pipes, wiring, and gas lines inside open walls | Must be inspected before walls close |
| Rough inspections | Framing and MEP inspections pass | Required before insulation and drywall |
| Insulation and drywall | Insulation, hang, tape, and finish drywall | Closes the walls after systems are verified |
| Finishes and fixtures | Paint, flooring, cabinets, counters, tile, trim, final fixtures | Delicate surfaces come after the messy work |
| Final inspections and punch list | Final building inspection, walkthrough, and corrections | Confirms the work is complete and code-compliant |
For a deeper look at why this order matters, see our guide on the usual sequence of renovation work. The same logic applies whether you are doing a single room or a whole-house project: protect what is finished, complete hidden work first, and only then install the surfaces you will live with every day.
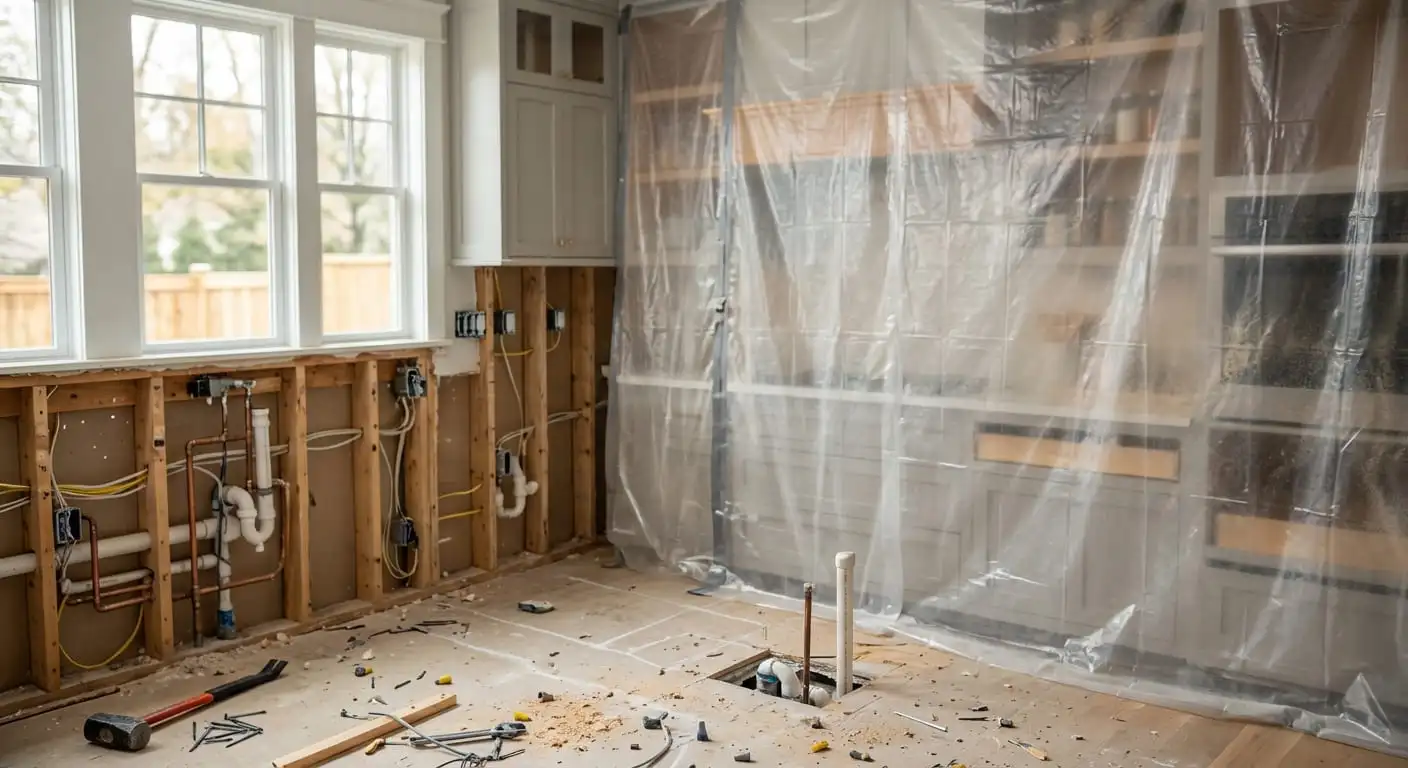
While the work is underway, keep a simple daily habit. Walk the site, note anything that looks off, and raise questions early. Confirm that rough inspections are scheduled and passed before drywall goes up. If you are living in the house, keep dust barriers intact and pathways clear. Small daily checks prevent larger surprises at the end.
After: closeout and living with the result
The project is not finished when the last fixture is installed. Closeout protects the investment and makes future maintenance easier. Walk every room slowly. Open and close doors, drawers, and windows. Test lights, outlets, switches, and fans. Run water and check for leaks. Note every item that needs correction on a punch list and withhold final payment until those items are resolved.
Collect the paperwork while it is still easy to find. Keep warranties, appliance manuals, paint codes, tile and flooring leftovers, and the final signed-off permit documents in one place. Ask for lien releases from the contractor and major subcontractors so you are not left with unpaid claims later. These steps sound administrative, yet they prevent real headaches months or years down the road.

Once the punch list is complete and the final inspection is signed off, take a few days to live with the space before you declare it done. Small adjustments to hardware, lighting, or storage often become obvious only after daily use. Address them while the relationship with the contractor is still active.
Common mistakes to avoid
- Starting demolition before selections are final. Lead times for cabinets and specialty materials are real. Ordering late creates idle time on site.
- Skipping the contingency. Surprises are normal once walls open. A 10 to 20 percent buffer turns a surprise into a managed cost instead of a crisis.
- Closing walls before rough inspections pass. Opening finished walls to fix a failed inspection is expensive and demoralizing.
- Choosing the lowest bid without comparing scope. Incomplete bids look cheap until the change orders arrive. Compare apples to apples.
- Ignoring dust and access planning. Living through a renovation is manageable when barriers, pathways, and temporary facilities are planned. It becomes exhausting when they are not.
- Treating the punch list as optional. Small defects become permanent if you sign off and pay the final invoice too quickly.
If the budget is tight and a full structural opening is more than you need, consider options that improve the feel of the space without removing walls. Our guide to refreshing a kitchen without major structural change shows practical ways to get a big visual return for less disruption.
A simple one-page plan
- List how you actually live. Who cooks, who works from home, which rooms matter most, and how long you can tolerate disruption.
- Write the scope and the must-do list. Keep nice-to-haves separate so the budget stays honest.
- Build the budget with a 10 to 20 percent contingency. Confirm financing and temporary living costs if needed.
- Check structure, systems, and local permit rules. Call the building department early.
- Get three written bids on the same scope and choose with a clear contract.
- Finalize selections and order long-lead items. Protect the site and set dust barriers before demo.
- Follow the sequence: demo, structure, rough-ins, inspections, insulation, drywall, finishes, final inspection, punch list.
- Collect warranties, manuals, and lien releases. Live with the space a few days, then close out any remaining items.
For kitchen-specific timing, see our notes on typical kitchen remodel timelines. The same planning habits apply across rooms: decide early, protect the contingency, and never close a wall before the inspector has signed off.
Frequently asked questions
What should be on a home renovation checklist?
A practical checklist covers scope, budget with contingency, house assessment, permits, contractor selection with written bids, material selections, site protection, the construction sequence, inspections, punch list, and final paperwork (warranties, manuals, lien releases).
How much contingency should I budget for a renovation?
Most guidance lands between 10 and 20 percent of the known project cost. Use the lower end for well-defined cosmetic work on a newer home. Move toward 15 to 20 percent for older homes, structural changes, or projects that open many walls.
Do I need a permit for every renovation?
No. Structural work, new openings, electrical changes, plumbing moves, and mechanical replacements usually require permits. Paint, flooring over existing subfloor, and like-for-like cabinet replacement often do not. Always confirm with your local building department because rules vary by jurisdiction.
What is the correct order of renovation work?
Protect the site, demolish, complete structural and framing work, install rough plumbing, HVAC, and electrical, pass rough inspections, add insulation and drywall, then install finishes, cabinets, counters, and fixtures. End with final inspection and a written punch list.
How long does a typical home renovation take?
Timelines vary widely by scope. A single kitchen often runs several weeks to a few months of active work once permits are in hand. Whole-house projects commonly stretch several months. Material lead times and inspection schedules often drive the calendar more than the physical labor itself.
Can I live in the house during a renovation?
Many people do, especially for single-room projects. Success depends on dust control, temporary kitchen or bathroom arrangements, clear pathways, and realistic expectations about noise and disruption. For larger projects, temporary housing can reduce daily stress even if it adds cost.
Final thoughts
A home renovation checklist is not bureaucracy. It is the difference between a project that feels controlled and one that feels like it is controlling you. The early decisions (scope, budget, permits, hiring, and selections) set the ceiling for how smooth the rest can be. The middle phase rewards patience with the right sequence and real inspections. The final phase rewards a careful walkthrough and complete paperwork.
Start with one honest conversation about how you live and what must change. Write the scope. Set the contingency. Call the building department. From there the checklist becomes a working tool instead of a list you ignore. The result is a finished space that matches the plan you made when the project still felt exciting.

Keep planning your project
More practical, plain-English guides on costs, permits, design, and hiring from the RemodelPulse team.